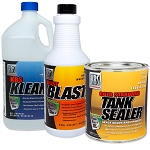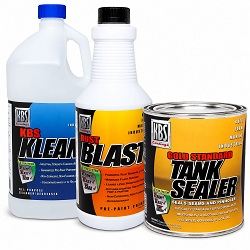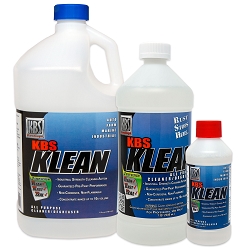


To seal a rusty fuel tank, drain and remove it, clean it with KBS Klean, etch it with RustBlast, then pour in Gold Standard Tank Sealer and rotate the tank for up to 30 minutes. The Auto Fuel Tank Sealer Kit includes all three for tanks up to 25 gallons.
Updated September 2026 by the KBS Coatings technical team.
A customer contacted us about the fuel tank in his 20-year-old diesel pickup, which had developed patches of flaking rust inside an otherwise shiny tank. The largest was about 4 by 10 inches. Flaking rust had plugged the fuel filters and caused drivability problems. He cleaned the tank and replaced the filters, but the rust kept progressing. He asked whether the Auto Fuel Tank Sealer Kit would seal a whole rusty tank or only small patches. It seals the entire inside of the tank.
| Products | KBS Klean, RustBlast, Gold Standard Tank Sealer |
|---|---|
| Coats | One thin coat of Tank Sealer |
| Application temperature | 55 to 82 degrees F (13 to 28 degrees C) |
| Seal within | 10 days of completing prep |
| Full cure | 96 hours before adding fuel |
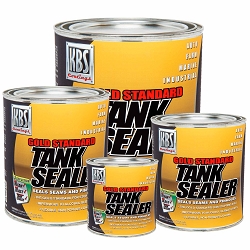
| Kit sizes | Auto Fuel Tank Sealer Kit: tanks up to 25 gallons. Tank Sealer System: 1 to 100 gallons. |

What Causes Rust in a Fuel Tank?
Water trapped inside the tank causes rust in a fuel tank. Most of it arrives as condensation: moisture in the air condenses on the tank surface that is not submerged in fuel, combines with oxygen and rusts the metal. Condensation is worst with high humidity and rapid temperature changes. Refueling in rain or snow can add water through the filler.
Water is heavier than fuel, so it can also pool on the bottom of the tank while the fuel floats on top. Pooled water rusts the metal beneath it, which is what appears to have happened with our customer's tank.
How to Avoid Rust in Fuel Tanks
To avoid rust in a fuel tank, keep water and oxygen away from the metal. Keeping the tank full leaves less exposed metal for water to condense on. A tank that is already rusting needs more than that, which is why sealing the inside is the lasting fix.
How to Stop Rust in a Fuel Tank
You can stop rust in a fuel tank by replacing the tank or by sealing it. A new tank can be expensive, and for some vehicles a replacement is hard or impossible to find. Sealing the inside with the KBS 3-step system permanently seals the metal from water and oxygen.
What You Need
- KBS Auto Fuel Tank Sealer Kit: the whole job for tanks up to 25 gallons, or the KBS Tank Sealer System for larger tanks
- KBS Klean, RustBlast and Gold Standard Tank Sealer: included in the kits, also sold individually
- NuMetal Epoxy Putty (optional): skip it when the tank has no holes larger than a pinhole
- BackBone Reinforcing Mesh (optional): skip it when there are no pinholes or weld seams to reinforce
- KBS Strip (optional): skip it unless the tank was sealed with another product before
- Chemical-resistant gloves, safety glasses, and a length of chain or some nuts and bolts to agitate rust
How to Seal a Rusty Fuel Tank
The procedure to seal a rusty fuel tank is to clean the tank, treat the rust, and coat the inside with a sealer. Each KBS tank sealer kit includes the materials for all three steps, sized for the tank. Complete steps are in the Tank Sealer directions.
Step 1: Clean the Fuel Tank
Clean the tank with KBS Klean mixed 1 part to 1 part hot water to remove gum, varnish and loose, flaky rust. Drain all fuel, remove the tank from the vehicle, seal the openings, pour the mixture in and soak while rotating the tank at intervals. Heavy buildup may need up to 24 hours. Put a length of chain or nuts and bolts in the tank to knock flaking rust loose.
Strain the solution and repeat as needed. Use a flashlight to check for loose rust, rinse until the water runs clear, then dry the tank completely before Step 2.
Step 2: Prepare the Tank for Sealer
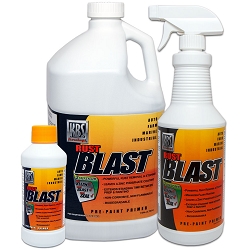
Prepare the metal with RustBlast, an acid metal etch that neutralizes existing rust, etches the metal and leaves a zinc phosphate coating so the sealer bonds. Pour it in at full strength, with no dilution. Roll and tip the tank every 5 minutes for a minimum of 30 to 60 minutes, and do not let RustBlast dry on the surface. Repeat for heavier rust.
Drain, rinse and let the tank dry completely, using forced air, a shop vac or a fan to speed it up. Leave the white powdery residue, which is normal zinc phosphate and helps the sealer. Let the tank cool to room temperature before Step 3.

Step 3: Seal the Fuel Tank
Gold Standard Tank Sealer seals the entire inside of the tank in one thin coat, not just small rust patches. It seals bare metal and light surface rust, and it bonds to any rust that remains, so you do not have to remove every bit first. Seal the tank within 10 days of completing prep.
Stir the sealer, touching the bottom of the can and lifting rather than whipping it. Pour the entire contents into the tank and rotate the tank for up to 30 minutes to coat every interior surface. Drain all excess sealer, rotating the tank side to side every 5 minutes so it does not pool. Foaming or bubbling while draining is a warning sign of trapped gas.
Let the tank air-dry naturally in a well-ventilated area, away from direct sun and heat. Allow a full 96 hours for maximum cure, and test the tank with water before adding fuel. Drained sealer cannot be saved or reused.
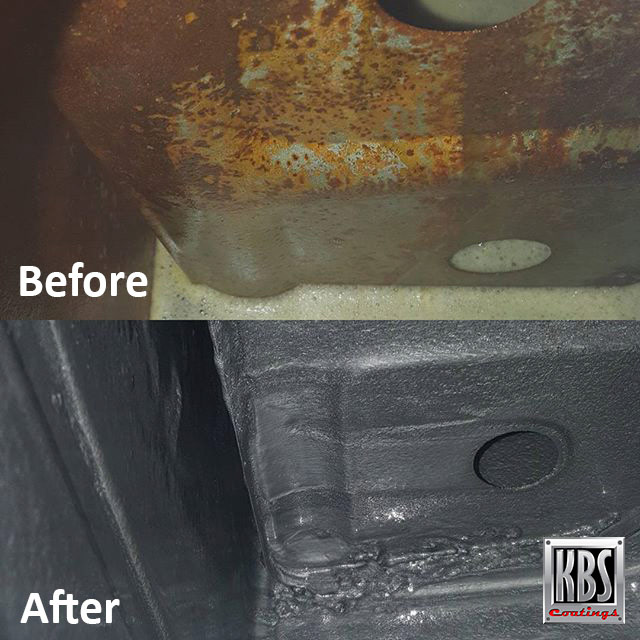
After sealing, our customer found the inside of his tank permanently sealed, rust free and protected, with no flaking rust to clog his fuel system.
Stuck or unsure? Search the KBS Support Desk for instant answers


Holes, Plastic, Fiberglass and Old Coatings
Pinholes and weld seams are sealed from the inside, and holes larger than a pinhole are repaired with NuMetal Epoxy Putty first, which needs 12 hours to cure before you seal the interior. Reinforce pinholes and seams from the outside with BackBone Reinforcing Mesh. Fiberglass tanks use the same 3-step system, but limit RustBlast contact to 2 minutes.
A tank sealed before with another product must be fully stripped first with KBS Strip. Plastic tanks are a different job: see how to seal a plastic fuel tank. For a general walkthrough of metal tanks see sealing a metal fuel tank, and for troubleshooting see the Tank Sealer Fix-It Guide.
Frequently Asked Questions About Sealing a Rusty Fuel Tank
Will a spray-on rubber sealer stop a gas tank leak?
No consumer rubber spray is a fuel tank repair. For a leaking metal tank, KBS Gold Standard Tank Sealer seals pinholes and weld seams from the inside, and holes larger than a pinhole are repaired with NuMetal Epoxy Putty before sealing. Clean with KBS Klean and etch with RustBlast first so the sealer bonds.
What sealant can I use on a fuel tank?
Use a moisture-cured polyurethane made for fuel tank interiors, such as KBS Gold Standard Tank Sealer. It seals bare metal, light surface rust, pinholes and weld seams, and works with modern fuels including ethanol blends. Plastic tanks need Fusion SEP first, and fiberglass tanks use the same 3-step system with a shorter RustBlast contact time.
What is a good fuel tank rust remover and sealer?
KBS uses a 3-step system: KBS Klean removes gum, varnish and loose rust, RustBlast neutralizes remaining rust and leaves a zinc phosphate surface, and Gold Standard Tank Sealer coats the inside in a single thin coat. The KBS Auto Fuel Tank Sealer Kit packages all three for tanks up to 25 gallons.
What is the best sealant for gas tanks?
Pick a sealer by what the tank is made of and how well the prep is done, because sealer only holds on a clean, etched surface. For metal tanks, KBS Gold Standard Tank Sealer is a moisture-cured polyurethane that bonds to remaining surface rust and cures in 96 hours. Follow the full Klean, RustBlast, Tank Sealer sequence.
Do I have to remove all the rust before sealing a fuel tank?
No. Remove the loose, flaking rust with KBS Klean and an abrasive such as a length of chain, then treat the rest with RustBlast. It is not necessary to remove every last bit of rust, because Gold Standard Tank Sealer bonds directly to any remaining rust.
How long does Tank Sealer take to cure in a fuel tank?
Allow a full 96 hours for maximum cure. Let the tank air-dry naturally in a well-ventilated area, away from direct sun and heat, because heating the tank does not speed curing and can hurt adhesion. Test the tank with water before you add fuel.
How soon after RustBlast do I have to seal the tank?
Seal the tank within 10 days of completing prep. After the final rinse the tank must dry completely, and it should cool to room temperature before you pour in Tank Sealer. Never seal in direct sunlight.
What temperature can I seal a fuel tank at?
Apply Tank Sealer between 55 and 82 degrees F (13 to 28 degrees C). Tank Sealer is a moisture-cured urethane, so avoid rain and high humidity, since trapped moisture and gas can cause bubbling in the cured film.
Still have questions? Search the KBS Support Desk for instant answers
More answers are in the Tank Sealer FAQs. Clean, etch and seal the inside once, let it cure the full 96 hours, and the tank stays rust free and clear of flaking rust.
Related guides: Sealing a Metal Fuel Tank, Sealing a Plastic Fuel Tank, or browse all KBS application guides.
Tagged Products