

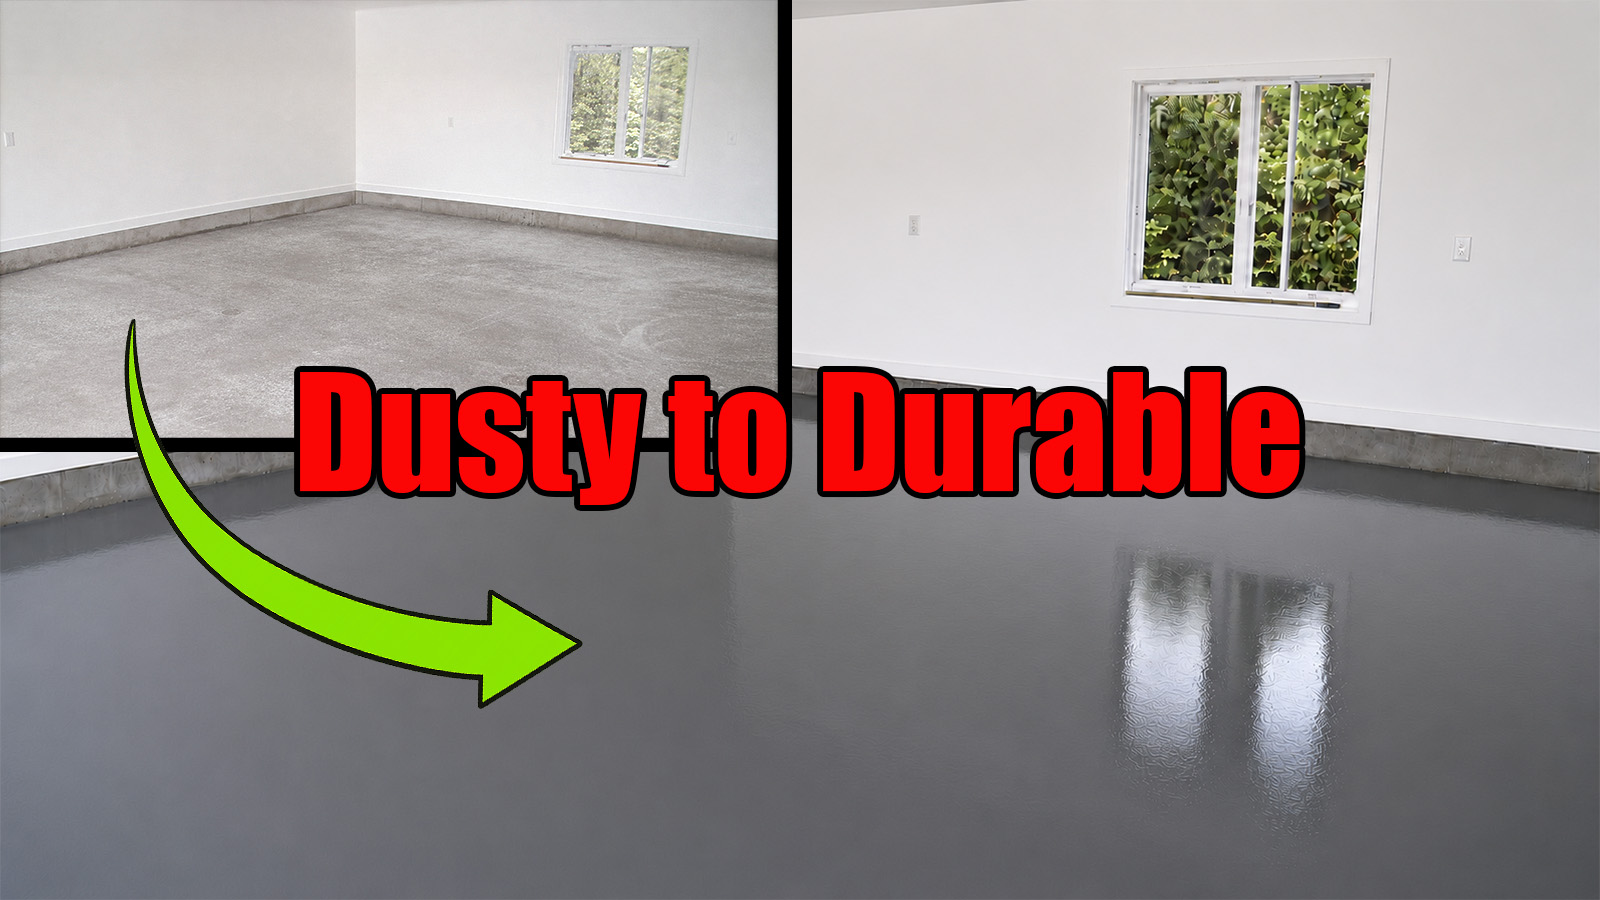
To repair a dusting concrete floor before coating it, remove the loose powder, mechanically grind the weak surface until you reach sound concrete, and clean the floor thoroughly. That is the whole job. The hard part is working out how far down the damage goes, which is what most of this guide covers.
Skip the prep and the coating bonds to material that is already failing. A concrete floor coating applied over a dusting surface peels, lifts, and comes off in sheets, which is why diagnosing the floor matters more than which coating you buy.
This article walks through the repair using KBS RustSeal as a penetrating base coat and KBS MAXX as the topcoat. The two are designed to bond to each other, so you are not gambling on whether a topcoat from one manufacturer will stick to a primer from another.

What Concrete Floor Dusting Is
Concrete floor dusting is the surface of the slab breaking down into a fine powder because the top layer never had, or has lost, enough strength. Before you plan a repair, make sure that is actually what you have. Several surface conditions look similar and none of them are fixed the same way.
- Concrete floor dusting - fine powder produced as weak cement paste deteriorates off the surface.
- Dirt - loose soil or debris sitting on top of the slab, which comes off with cleaning.
- Efflorescence - a white mineral deposit left behind when moisture carries soluble salts to the surface.
- Laitance - a thin, weak layer of cement paste formed during placement or finishing.
- Scaling - flaking or chipping that goes deeper than dusting.
- Coating chalk - powder from an existing coating breaking down, not from the concrete.
The rest of this article deals with dusting. If your floor is scaling or chalking, the prep is different.

Why Concrete Floors Dust
Knowing what caused the dusting tells you how deep it goes, and how deep it goes tells you how much you need to grind off. Look first at the areas around garage doors, along vehicle paths, and in front of workbenches, since those usually show it before the rest of the floor does.
Common causes:
- Weak or poorly cured surface (laitance) - a soft top layer caused by improper finishing, improper curing, or too much water in the mix.
- Years of abrasion and wear - foot traffic, vehicle traffic and equipment grinding away the surface over time.
- Moisture damage or freeze-thaw cycling - repeated wetting and freezing breaking the surface down.
- Chemical attack - oils, salts and acids attacking the cement.
- A previous coating applied over bad prep - the coating fails and takes the weak surface with it, or exposes how weak it already was.
How to Tell How Severe the Dusting Is
Four tests, none of which need special equipment. Run all four before you decide whether this floor needs a grinder.
Inspection Tests
- Hand-rub test - rub the surface firmly. Powder on your hand means the floor is actively dusting.
- Vacuum test - vacuum the floor, use the space normally, then check again. New powder means it is coming from the slab, not from debris.
- Scraper test - scrape lightly with a putty knife. If the concrete powders or crumbles, the surface is weak.
- Visual inspection - look for worn areas, pitting, scaling, discoloration and exposed aggregate.
What the Results Mean
- Light dusting - a little powder forms but the surface stays firm under the scraper. Clean it and coat it. You do not need to grind. If a very thin layer of dust remains after cleaning, KBS RustSeal will encapsulate those particles and bond them to the concrete underneath.
- Moderate dusting - powder forms readily and the surface scratches easily. Grind until you reach sound concrete.
- Severe dusting - heavy powdering, crumbling, scaling or widespread deterioration. Expect extensive grinding and patching before this floor takes a coating.
Tools, Materials and Safety Equipment
Gather everything before you start. Grinding a floor and then discovering you have no way to vacuum the dust is a bad afternoon.
Surface Preparation Tools
- Concrete grinder with a diamond cup wheel or appropriate grinding wheel
- HEPA shop vacuum for concrete dust
- Putty knife or metal scraper
- Stiff-bristle brush
- Push broom and dustpan
- Floor squeegee
- Mixing bucket
Cleaning and Repair Materials
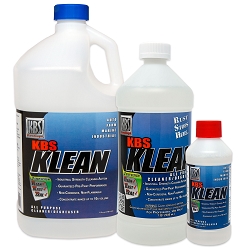
- KBS Klean concentrated cleaner and degreaser
- Clean water and rags
- NuMetal Epoxy Putty or another concrete repair material for cracks and pits
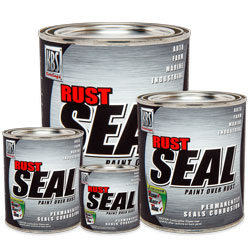
- KBS RustSeal moisture-cured urethane coating
- KBS MAXX 2K polyurethane topcoat
- Brushes and rollers, or an HVLP spray gun if you are spraying
- KBS #1 Thinner for reducing and cleanup
- KBS Hurricane Paint Mixer for mixing KBS MAXX
Personal Protective Equipment
- Safety glasses or a face shield
- NIOSH-approved respirator rated for concrete dust and coating vapors
- Hearing protection when running the grinder
- Chemical-resistant gloves
How to Repair a Dusting Concrete Floor Before Coating
Before you begin: if your inspection turned up structural cracking, deep deterioration, or failure across a large area, stop and have the slab evaluated professionally. Nothing in this article fixes a structural problem.
Step 1: Remove Surface Dust and Contaminants
Dust, oil and grease all sit between the coating and the concrete. Get them off first.
- Vacuum the entire floor with a heavy-duty shop vacuum, or an industrial HEPA vacuum if you have one. Do not use a broom. Sweeping spreads fine dust around and pushes it into the pores of the concrete.
- Work the edges, wall corners and expansion joints, where dust collects most.
- Wash the floor with KBS Klean, which rinses residue-free and will not leave anything behind to interfere with adhesion.
Mixing and using KBS Klean:
- Dilute with hot water. The hotter the water, the harder the cleaner works.
- Lightly soiled: 10 parts water to 1 part KBS Klean.
- Moderately soiled: 5 parts water to 1 part KBS Klean.
- Heavily soiled: 1 part water to 1 part KBS Klean.
- Scrub with a stiff-bristled floor brush for 5 to 10 minutes, longer if the floor needs it. On heavily soiled concrete, let KBS Klean soak for 24 hours or more before scrubbing.
- Rinse thoroughly with clean water and flush the loosened debris away. Do not let KBS Klean dry on the surface before you rinse.
- Squeegee off the standing water, then dry the floor with floor fans, a leaf blower, or other forced air. Drying it fast keeps water from sitting in the pores.
Full dilution rates and directions are on the KBS Klean directions page.

If the floor is only lightly dusting and otherwise sound, cleaning is as far as you need to go. If the concrete is dense and unusually smooth, a muriatic acid etch will open up the surface profile, provided you rinse it completely, neutralize it as directed, and let the floor dry before coating. Etching only opens the profile. It adds no strength and will not fix a weak surface.
Step 2: Grind Off the Weak Concrete
Soft, friable concrete cannot hold a coating no matter what you put on it. If the scraper test told you the surface crumbles, grind it off and expose the solid concrete underneath.
- Run a concrete grinder or comparable mechanical prep equipment over the deteriorated layer.
- Keep going until the surface stops releasing powder and stops crumbling under abrasion.
- You are looking for sound concrete with a uniform, solid appearance.
- Go back over any spots that still feel weak.
Grinding leaves behind a textured profile that KBS RustSeal can bite into, which is exactly the surface RustSeal is designed to bond to.

Step 3: Remove Grinding Dust and Re-Inspect
Grinding generates more dust than the original problem did. Get it out before you look at what you exposed.
- Vacuum the whole floor with a shop vacuum, or an industrial HEPA vacuum if available.
- Hit the edges, wall corners, expansion joints and cracks again.
- Confirm the weak concrete is gone.
- Note every crack, pit and spall that grinding uncovered. Those get repaired next.
- Grind again anywhere that still releases powder.
A floor can look clean after vacuuming and still fail the hand-rub test. Rub it before you move on.
Step 4: Repair Cracks, Pits and Spalls
Grinding almost always exposes defects that were hidden under the weak layer. Fill them now, while the floor is open.
- Dig out loose or deteriorated material from each defect first.
- Fill with a repair material suited to the size and type of damage. NuMetal Epoxy Putty works well on smaller pits and chips where you need high strength.
- Let the repair material cure fully before coating over it.
- Grind or sand each repair flush with the surrounding slab.
- Vacuum up the dust the repairs created.
Step 5: Test the Floor for Moisture
Moisture moving up through a slab will push a coating off it. Test before you open a can.
- Let the concrete dry completely after cleaning, rinsing and repairs.
- Look for damp spots, darkened areas and standing water.
- Run a moisture test. The plastic sheet test is the simplest; AMPP covers it and the other standard methods in their guide to concrete moisture testing and mitigation.
- Do not coat until the floor passes.

Applying RustSeal and KBS MAXX to the Repaired Floor
Clean, sound and dry means you are ready to coat. KBS RustSeal goes down first, then KBS MAXX over the top.
They do different jobs. RustSeal is a single-component, moisture-cured urethane. It penetrates prepared concrete, cures rock hard, and locks into the surface. It also costs less per gallon than a topcoat, so using it as your base coat builds film thickness economically. KBS MAXX is a two-component polyurethane that cures harder than any 1K coating and is permanently UV stable, so the color and gloss hold up. It comes in 26 colors.
Together they resist abrasion, hot tires, fuel, oil, road salt, chemicals and acids, and they resist chipping, cracking and peeling. KBS also publishes a dedicated concrete sealer directions page covering RustSeal on concrete specifically.

Applying RustSeal
Full details are on the RustSeal directions page. The short version:
- Method: brush, roll or spray.
- Temperature: 55-82°F. RustSeal is moisture-cured, so avoid rain and high humidity. Damp surfaces cause bubbling.
- Mixing: stir from the bottom of the can up, for several minutes. Do not shake the can, and do not substitute shaking for stirring.
- Thinning: generally not needed. If you are spraying and want to reduce, 5 to 10 percent is plenty. Use KBS #1 Thinner or xylene only. Never lacquer thinner.
- Coats: a minimum of two thin covering coats at 2 mils each. Thin coats cure properly; thick ones skin over and trap solvent underneath.
- Recoating: once the previous coat is dry to the touch and no longer leaves a fingerprint, typically 2 to 6 hours, apply the next coat within 8 hours. If you go past 8 hours, wait a full 24 hours, then scuff the cured coat with 320 grit or a green scuff pad before recoating.
If you are unsure about adhesion on your particular slab, coat a small out-of-the-way test area first and let it cure before you commit to the whole floor.
Applying KBS MAXX
KBS MAXX is the finished surface. Full details are on the KBS MAXX directions page.
Mixing
- Mix the KBS MAXX Base thoroughly first, using a mechanical mixer such as the KBS Hurricane Paint Mixer on a variable speed drill.
- Measure 3 parts mixed Base to 1 part MAXX Activator into a clean container.
- Mix again until uniform.
- Watch the clock. Mixed KBS MAXX doubles in viscosity in 30 minutes, so mix what you can spread.
Base and Activator are pre-thinned and ready to brush, roll or spray. Add KBS #1 Thinner or xylene only if you need it.
Application
Apply KBS MAXX once the final coat of RustSeal is dry to the touch and no longer leaves a fingerprint, usually 3 to 6 hours depending on temperature and humidity. If more than 24 hours have gone by and the RustSeal has fully cured, scuff it with 320 grit first.
- Method: brush, roll or spray.
- Temperature: 45-110°F, and not within 5°F of the dew point.
- Coats: a minimum of two thin, even coats at 1.5 to 2.0 mils DFT each. Avoid puddling and pooling.
- Recoat window: 30 minutes to 3 days.
- Cure times at 77°F: touch dry in about 30 minutes, through dry in 1 to 2 hours, hard cure in 3 to 4 hours, full cure at 7 days.
Wait for full cure before you park on it or set heavy equipment down. Hard cure at 3 to 4 hours means the floor resists handling and light abrasion, not a loaded vehicle.

Common Mistakes When Repairing and Coating a Dusting Concrete Floor
Most floor coating failures trace back to prep, not to the coating. These are the ones that come up most often.
- Coating over the dust.
Putting a coating on a weak, powdery surface instead of removing it. The coating bonds to material that is already coming apart.
- Acid etching instead of grinding.
Etching opens a surface profile. It does not strengthen weak concrete and it does not remove it.
- Stopping the grinder too soon.
Quitting before you reach sound concrete leaves a weak layer under the coating.
- Leaving dust behind.
Grinding dust, cleaner residue and loose debris all break the bond.
- Ignoring moisture.
Coating a slab that has not dried, or that has an ongoing moisture problem you have not addressed.
- Skipping edges, corners and joints.
Dust and weak concrete hide in these spots and produce localized failures that spread.
- Rushing the repairs.
Leaving cracks and pits unfilled, or coating over repair material that has not cured.
- Applying coats too thick.
Heavy coats skin over and trap solvent underneath. Stay at the recommended film thickness.
- Missing the recoat window.
Too long between coats means scuffing before you can continue. Too short means the coat underneath has not dried enough.
- Mixing incompatible products.
Combining coatings, primers, sealers and repair materials that were never designed to work together.
Frequently Asked Questions About Repairing and Coating a Dusting Concrete Floor
Why is my concrete floor dusty?
The surface layer of the slab has lost strength and is breaking down into powder. Common causes are improper curing, too much water in the original mix, surface laitance, years of abrasion, moisture damage, and chemical exposure. Which one you are dealing with determines how much material you need to remove before coating.
How do you stop concrete floor dusting?
Remove the weak surface concrete, clean the floor, repair the defects that grinding exposes, and coat the sound concrete underneath. Sweeping and washing will not stop active dusting because the powder is being produced by the slab itself, not sitting on top of it.
Can a dusting concrete floor be repaired?
Usually, yes. If the deterioration stops at the surface and the slab underneath is structurally sound, grinding off the weak layer and coating what is left will fix it. Structural cracking or deep failure is a different problem and needs a professional evaluation of the slab.
Do I have to grind a dusting concrete floor before coating it?
Not always. A lightly dusting floor that stays firm under a scraper can often be cleaned and coated, because RustSeal will encapsulate a thin layer of remaining dust and bond it to the concrete below. If powder forms readily or the surface scratches easily, grind until you reach sound concrete.
How do I know when the concrete is ready for coating?
Rub the surface hard with your hand. Nothing should come off. All repairs should be cured and ground flush, the floor should be vacuumed clean including edges and joints, and the slab should pass a moisture test.
Can I acid etch a dusting concrete floor instead of grinding it?
No. Acid etching opens the surface profile of dense, smooth concrete, but it does not strengthen weak concrete and it does not remove it. If the floor is actively dusting, etching leaves the weak layer in place and the coating bonds to material that is already failing.
What is the best coating for a dusting concrete floor?
KBS RustSeal as the penetrating base coat, then KBS MAXX as the topcoat. RustSeal soaks into prepared concrete and cures hard, and KBS MAXX adds UV stability plus resistance to abrasion, hot tires, fuel, oil, road salt, chemicals and acids.
How long before I can park on a newly coated concrete floor?
KBS MAXX is dry hard in 3 to 4 hours at 77°F, but full cure takes 7 days. Wait for full cure before parking vehicles or setting heavy equipment on the floor.
Conclusion
Dusting is a prep problem. Find out how deep the weak layer goes, take it off, fix what is underneath, confirm the slab is dry, and then coat it. Do that and the RustSeal and KBS MAXX system will hold up to abrasion, road salt, chemicals, acids and daily traffic for years. Skip it and the best coating on the market will still peel.
Ready to coat your floor?

Tagged Products