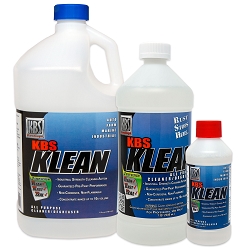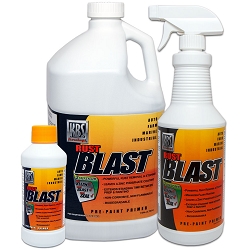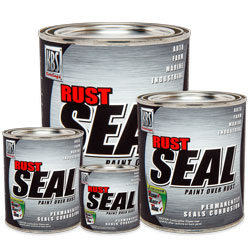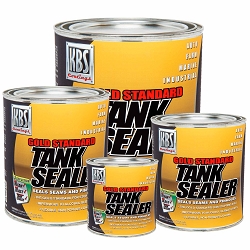


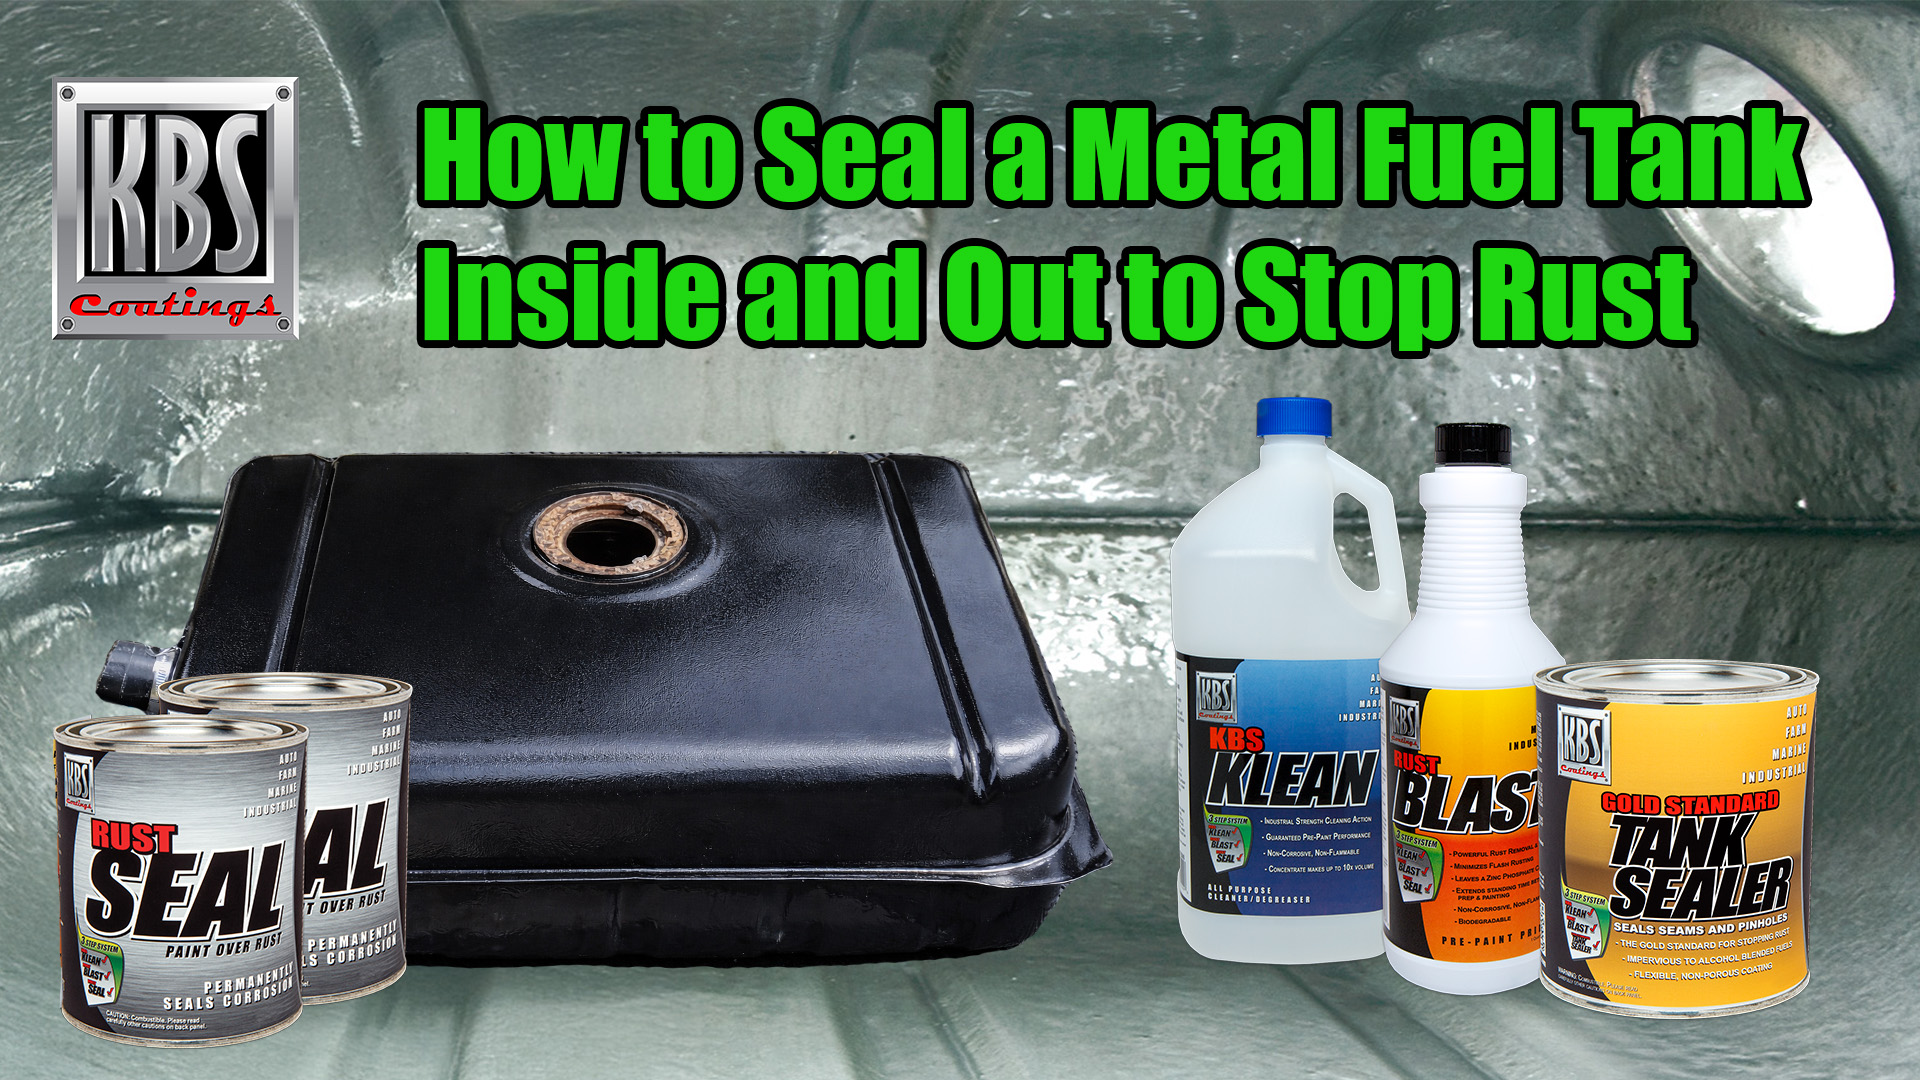
To reseal a metal gas tank, clean the interior with KBS Klean, treat any rust with KBS RustBlast, and line it with Gold Standard Tank Sealer, then protect the outside with KBS RustSeal so the tank is sealed inside and out. If the tank was sealed before, remove the old liner with KBS Strip first.
Updated September 2026 by the KBS Coatings technical team.
- Why Fuel Tanks Rust from the Inside
- Why Reseal a Rusty Fuel Tank Instead of Replacing It?
- Why Seal a New Metal Fuel Tank?
- What You Need
- How to Reseal the Inside of a Metal Fuel Tank
- How to Coat the Outside of a Fuel Tank with RustSeal
- Patching the Outside of the Tank If Necessary
- Frequently Asked Questions
- Conclusion
| Products | Gold Standard Tank Sealer, RustSeal |
|---|---|
| RustBlast dwell (interior) | 30 to 60 minutes, keep wet the whole time |
| Tank Sealer cure | 96 hours before refueling, openings left open |
| RustSeal application conditions | 55 to 82 degrees F, 30 to 80% relative humidity |
| RustSeal recoat | 2 to 6 hours, once dry to the touch |
| Max operating temperature (Tank Sealer) | 600 degrees F on a properly coated surface |
Why Fuel Tanks Rust from the Inside
Metal fuel tanks rust internally mainly from condensation, which forms as temperatures rise and fall, especially in a tank stored partially full. Ethanol-blended fuels make this worse by attracting and holding moisture against the metal.
- Rust flakes break loose and contaminate fuel
- Filters, carburetors, and injectors clog
- Corrosion spreads into seams and low points
- Metal thins, eventually leading to pinholes and leaks
Why Reseal a Rusty Fuel Tank Instead of Replacing It?
Resealing is usually the better option for a rusty fuel tank when the tank is still structurally sound, since original tanks for older vehicles can be hard to find, expensive, or poorly reproduced.
- Encapsulates remaining corrosion
- Stops rust flakes from contaminating fuel
- Seals seams and microscopic pinholes
- Extends service life, often for decades
Why Seal a New Metal Fuel Tank?
Sealing a new metal fuel tank proactively prevents rust before it starts, since many new or reproduction tanks have minimal internal protection and can still rust during storage or seasonal use.
- Adds corrosion protection from day one
- Improves resistance to ethanol blends
- Protects stored or seasonal vehicles
- Reduces future rust repair risk
What You Need
- KBS Strip (optional): skip it when the tank was never previously sealed
- KBS Klean: removes varnish, fuel residue, oil, and contaminants from the interior
- KBS RustBlast: dissolves rust and etches steel for adhesion
- Gold Standard Tank Sealer: creates a permanent fuel-resistant lining inside the tank
- KBS RustSeal: protects the outside of the tank from road spray, salt, and corrosion
- Hurricane Paint Mixer (optional): mixes RustBlast, Tank Sealer, or RustSeal thoroughly in the can before pouring it into the tank
- KBS Paint Spout (optional): makes pouring product into the tank opening easier
- Chemical-resistant gloves, safety glasses, and proper personal protective equipment
Unopened KBS products last about 2 years; once opened, about 6 months in a cool, dry place. Test any product that has been open a while by stirring it before use.
How to Reseal the Inside of a Metal Fuel Tank
Resealing the inside of a metal fuel tank takes three steps in order: clean with KBS Klean, treat rust with KBS RustBlast, then line the interior with Gold Standard Tank Sealer.
If the Tank Was Previously Sealed
Remove the old liner first with KBS Strip, following the product directions for safe use and complete removal, before starting the steps below.
Step 1: Clean the Tank with KBS Klean
Clean the tank first with KBS Klean, since any residue left behind can cause the sealer to lift or peel later.
- Mix 1 part KBS Klean with 1 part hot water
- Pour into the tank and seal all openings
- Agitate and rotate the tank to reach all internal surfaces
- For heavy varnish, soak longer as needed; rotating with clean nuts, bolts, or a loose chain can help dislodge debris
- Drain and rinse repeatedly with clean water
Full kit directions: Tank Sealer directions.
Step 2: Remove Rust and Etch Metal with KBS RustBlast
KBS RustBlast removes corrosion and etches the steel to create the surface the sealer needs to lock onto, staying wet for 30 to 60 minutes depending on rust severity.
- Pour RustBlast into the tank
- Roll and tip the tank to keep all interior surfaces wet for 30 to 60 minutes
- Do not allow RustBlast to dry on the surface
- Drain and rinse thoroughly with water; the rinse neutralizes the acid and prevents excess zinc phosphate buildup
- Dry completely using forced air (shop vac, blower, or fan) and gentle heat if needed
A white zinc-phosphate film may remain after drying, which is beneficial for adhesion and flash-rust prevention. Full kit directions: Tank Sealer directions.
Stuck or unsure? Search the KBS Support Desk for instant answers
Step 3: Apply Gold Standard Tank Sealer
Apply Gold Standard Tank Sealer as a single thin coat once the tank is clean, etched, and completely dry, taking care to fully coat the entire interior and pay extra attention to seams and low points.
- Avoid working in direct sun or near direct heat
- Mix thoroughly, stirring from the bottom up
- Pour the entire can into the tank and slowly rotate to coat all surfaces, working for up to about 30 minutes
- Drain excess until dripping stops
- Continue rotating occasionally to minimize pooling; pooling or heavy buildup can cause curing or adhesion issues, so keep it thin and even
Allow 96 hours for full cure before putting the tank into service, and leave tank openings open so air can reach the coating. Once poured into a tank and drained back out, Tank Sealer is spent and should not be reused in a second tank; pour a fresh portion from the can for each tank instead. A surface properly coated with Tank Sealer withstands temperatures up to 600 degrees F. Product page: Gold Standard Tank Sealer.

Gold Standard Tank Sealer
Lines the interior with a permanent, fuel-resistant coating.


How to Coat the Outside of a Fuel Tank with RustSeal
Coating the outside of a fuel tank matters even when the inside is sealed, since the exterior stays exposed to moisture, road spray, and salt, and many tanks fail from the outside first.
Step 1: Clean and Remove Loose Rust
- Mix KBS Klean with hot water at a 1 to 5 ratio
- Scrub thoroughly, rinse, and dry completely
- Remove loose rust mechanically with a wire brush, 60 to 80 grit sanding, or sandblasting for best results
Step 2: Treat with RustBlast
- Spray RustBlast on and keep wet for 30 minutes to 2 hours, depending on severity
- Scrub intermittently with a Scotch-Brite pad
- Rinse and dry thoroughly; a whitish zinc-phosphate residue may remain and should not be removed
Step 3: Apply RustSeal
KBS RustSeal is a 1K moisture-cured urethane rated to 600 degrees F that forms a rock-hard yet flexible barrier over bare, treated, or properly prepared rusted metal.
- Apply by brush, roller, or spray equipment
- Apply between 55 and 82 degrees F, at 30 to 80% relative humidity, avoiding rain
- Mix thoroughly, stirring from the bottom up
- Use only KBS #1 Thinner or xylene if thinning is needed, never lacquer thinner
- Apply at least three thin coats; thin coats cure harder and stronger than thick ones
- Recoat once dry to the touch, usually 2 to 6 hours, applying additional coats within 8 hours; if more than 8 hours pass, wait a full 24 hours and scuff with 320 grit or a green Scotch-Brite pad before the next coat
- The coated area can be handled after 1 day, with full cure in 7 days before service
RustSeal is not UV stable, so a tank exterior in regular direct sun needs an opaque topcoat such as BlackTop to hold its color and sheen; the rust protection itself does not degrade without one. Full directions: RustSeal directions. Common questions: RustSeal FAQs.
Patching the Outside of the Tank If Necessary
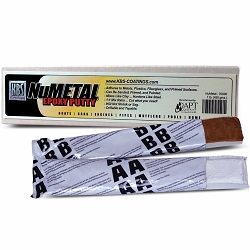
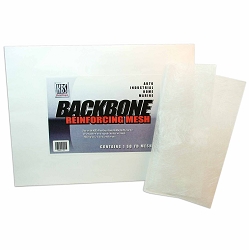
Exterior repairs before coating can be reinforced with KBS BackBone Reinforcing Mesh for pinholes and weld seams, or NuMetal Epoxy Putty for holes larger than pinholes, with repairs completed before applying RustSeal.
Detailed kit directions: Tank Sealer directions.


Frequently Asked Questions About Resealing a Fuel Tank
Can J-B Weld be used to seal a gas tank?
An epoxy putty like J-B Weld can patch a small external hole or seam, but it is not built to line the full interior of a tank the way a dedicated tank sealer is, and it does not stop internal corrosion elsewhere in the tank. For a tank with any internal rust or widespread seepage, a full interior liner such as KBS Gold Standard Tank Sealer is the more reliable long-term fix.
What type of sealant is best for a leaking fuel tank?
The best sealant for a leaking metal fuel tank is a dedicated interior liner designed for continuous fuel contact, applied after cleaning with KBS Klean and treating rust with KBS RustBlast. General-purpose sealants and epoxies are not formulated to resist fuel long term and can fail or contaminate the fuel system.
What sealant will hold up to gasoline?
A sealant built specifically for fuel contact, such as KBS Gold Standard Tank Sealer, holds up to gasoline and ethanol-blended fuels once fully cured for 96 hours. Sealants not rated for fuel contact can soften, lift, or break down over time in continuous contact with gasoline.
Will flex seal stop a gas tank leak?
A rubberized spray sealant like Flex Seal is not designed for continuous fuel contact and is not a substitute for a dedicated fuel tank sealer system. Fuel can break down general-purpose sealants over time, which risks a repeat leak and possible fuel contamination, so a fuel-rated interior liner is the more reliable fix.
Is sealing a fuel tank permanent?
When the tank is properly prepared, cleaned, and cured for the full 96 hours before refueling, a KBS Tank Sealer lining can last for decades without peeling or failing. Skipping prep steps like degreasing or rust treatment is the most common reason a sealed tank fails early.
Can you seal a rusty fuel tank?
Yes, as long as the tank is structurally sound and the preparation steps, cleaning with KBS Klean and treating rust with RustBlast, are done correctly before the sealer goes in. Loose rust and scale should be knocked out first, but light surface rust inside the tank does not need to be fully removed before sealing.
Can leftover Tank Sealer from one tank be reused on another?
No. Once Gold Standard Tank Sealer has been poured into a tank and drained back out, it is considered spent and should not be poured into a second tank. Stir the can well and pour a fresh portion into each tank instead, resealing the can with plastic between the can and lid between pours.
Still have questions? Search the KBS Support Desk for instant answers
Conclusion
Resealing a metal fuel tank inside and out is one of the more effective steps in a restoration or long-term maintenance plan. Preparation determines adhesion, durability, and long-term success, so do not rush it. For the full official steps, mix ratios, and troubleshooting, see the Tank Sealer directions and the Tank Sealer FAQ hub. Prefer to watch the process instead of reading it? See the video walkthrough.
Related guides: How to Seal a Plastic or Polyethylene Fuel Tank, How to Fix Hidden Rust in Rocker Panels, Cab Corners and Body Seams, or browse all KBS application guides.
Tagged Products