

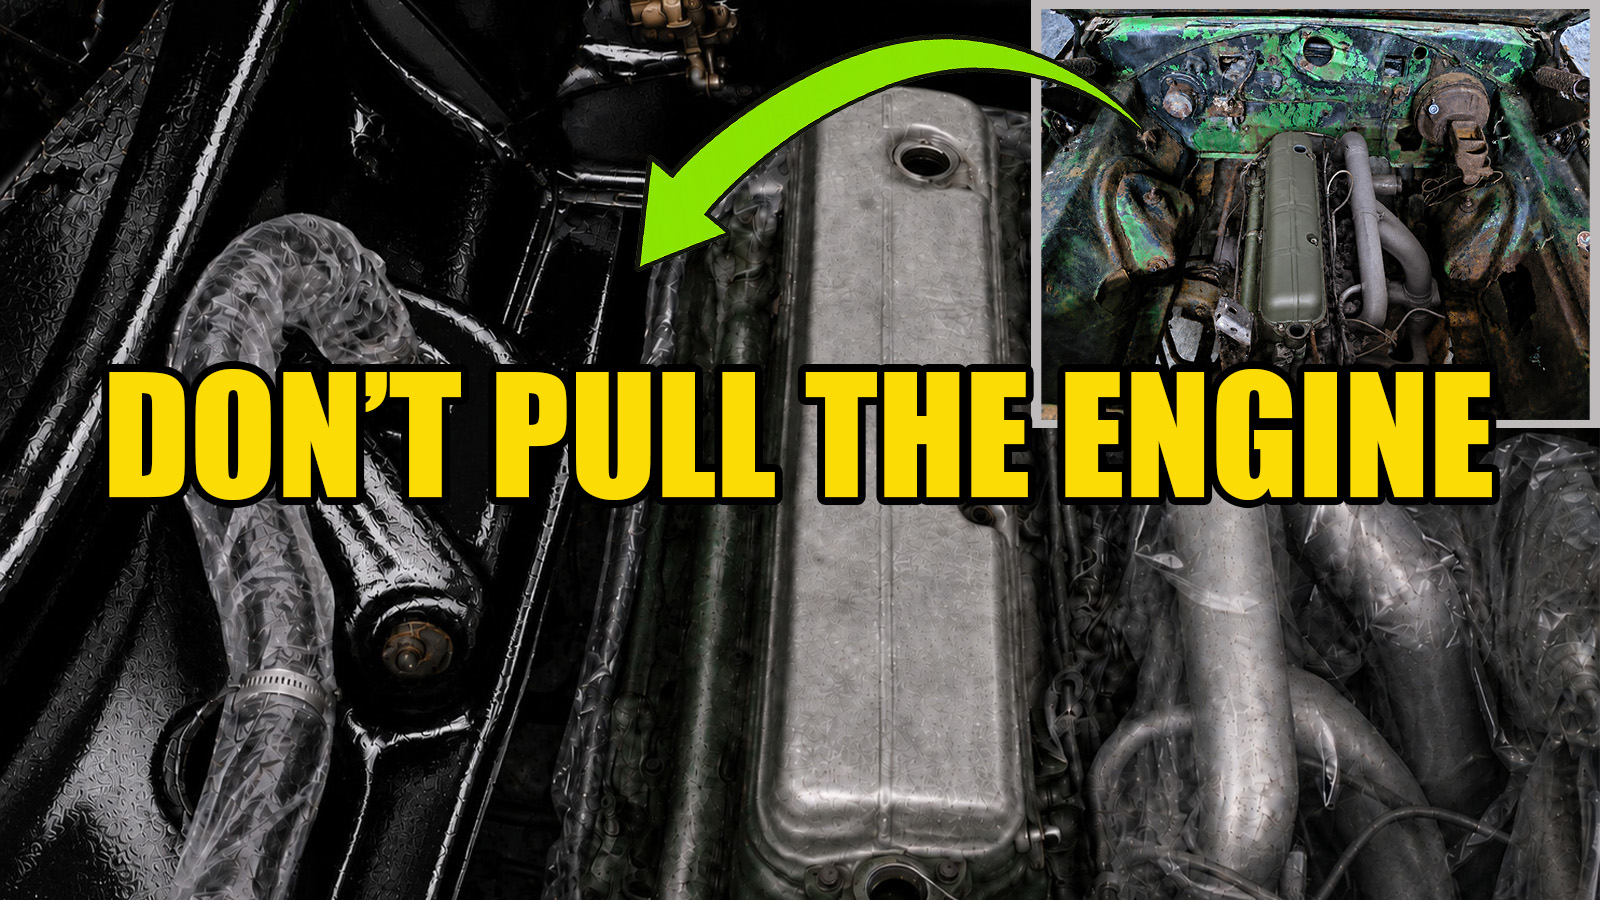
You can restore an engine bay without removing the engine by degreasing it, repairing rust, preparing the bare metal correctly, and applying a proven protective coating system. Most engine bays with surface rust, peeling paint, or grease buildup can be brought back to a clean, durable, professional-looking finish with the engine still installed. Removing the engine only becomes necessary when the damage goes deeper than the surface.
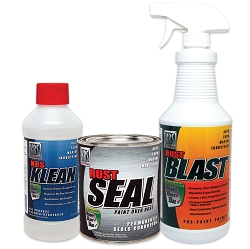
This engine bay restoration uses the KBS Klean, KBS RustBlast, and KBS RustSeal 3-Step Rust Prevention System, topped with BlackTop for a durable, UV-resistant finish.
What You Need
Get the complete kit, or buy each product on its own. Orders placed by 3 PM Central ship the same day.
- Can You Restore an Engine Bay Without Removing the Engine?
- Inspect the Engine Bay
- Why Engine Bays Rust
- Tools, Materials, and Safety Equipment Needed
- Step 1: Disconnect the Battery
- Step 2: Remove Components That Improve Access
- Step 3: Mask the Engine and Surrounding Components
- Step 4: Clean and Degrease the Engine Bay
- Step 5: Remove Loose Rust and Paint
- Step 6: Repair Damaged Areas
- Step 7: Prepare the Surface for Coating
- Step 8: Apply RustSeal
- Apply BlackTop as the Topcoat
- Common Mistakes to Avoid
- Frequently Asked Questions
- Conclusion
Can You Restore an Engine Bay Without Removing the Engine?
Yes, an engine bay can be fully restored with the engine still in place as long as the damage is limited to surface rust, peeling paint, grease buildup, or battery acid corrosion. Structural rust, severe corrosion, or repairs that require welding or sheet metal replacement need the access that comes with pulling the engine.
Benefits and Limitations
An engine-in restoration saves time and labor by skipping the disconnection of fuel, cooling, and electrical systems. For classic cars, muscle cars, trucks, and daily drivers, it delivers a durable finish while keeping the vehicle mechanically intact.
The tradeoff is access. Areas behind the engine, beneath wiring harnesses, and along the firewall are harder to reach, and they are often the same spots where grease, moisture, and corrosion collect. Plan on extra time and patience for those areas during cleaning, rust removal, and coating.
Inspect the Engine Bay
Inspecting the engine bay before starting tells you what repair work is actually needed and helps the finished restoration hold up. Look over every surface for rust, corrosion, paint failure, and battery acid damage before picking up a brush or sander, since damage found mid-project means stopping to go back and repair it.

Identify Rust and Corrosion
Surface rust shows up as light oxidation and usually comes off during normal preparation, while pitted rust signals deeper corrosion that needs more aggressive repair. Check the battery tray and surrounding sheet metal closely, since leaking battery acid commonly causes corrosion, lifted paint, and hidden metal damage in that spot.
Why Engine Bays Rust
Engine bays rust when moisture, oxygen, road salt, battery acid, and automotive fluids stay in contact with exposed metal. As paint chips and coatings wear or scratch through, corrosion gets a path straight to the steel, and dirt and grease make it worse by trapping moisture in seams, corners, and brackets.
Most engine bay rust starts as light surface corrosion that responds well to early repair. Left alone, it progresses into pitted rust that weakens the metal over time. Regular cleaning, prompt repair of battery acid damage, and a quality rust-prevention coating stop corrosion before it turns into a bigger repair.
Tools, Materials, and Safety Equipment Needed for Engine Bay Restoration
Tools
- Wire wheel and 320-grit sandpaper: remove loose rust and feather rough surfaces.
- Scotch-Brite pads: break up stubborn contamination and prepare surfaces.
- Bucket: mix KBS Klean.
- Sponge: apply cleaner and rinse surfaces.
- Scrub brush: agitate heavy grease and rust deposits.
- Paint brushes or spray equipment: apply coatings evenly.
- Masking tape and masking paper or plastic sheeting: protect surrounding components.
Materials
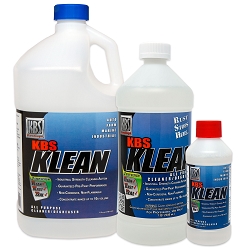
- KBS Klean: water-based cleaner and degreaser for removing oil and grime.
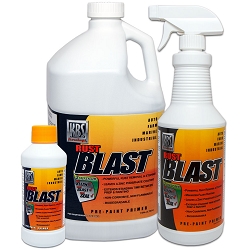
- KBS RustBlast: rust remover and zinc phosphate surface preparation.
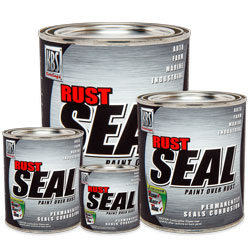
- KBS RustSeal: moisture-cured coating that stops and prevents rust.
- BlackTop: UV-stable, moisture-cured protective topcoat.
Safety Equipment
- Gloves
- Eye protection
- Respirator
- Protective clothing
Step 1: Disconnect the Battery
Disconnect the battery before starting any cleaning or coating work to prevent electrical shorts, sparks, and damage to sensitive components. Removing the battery entirely, if practical, protects it from water, cleaners, sanding dust, and overspray, and clears out an area where rust and battery acid damage commonly develop.
Step 2: Remove Components That Improve Access
Removing detachable components such as the air cleaner, coolant overflow bottle, washer reservoir, and loose brackets makes it easier to clean, prepare, and coat hidden areas of the engine bay. Every part removed is one less obstacle around hidden seams and corners.
When practical, remove items such as:
- Air cleaner or air intake assembly
- Coolant overflow bottle
- Windshield washer reservoir
- Loose brackets and covers
- Other easily removable accessories
Label hardware and keep fasteners in separate containers as you go. If a component cannot be removed easily, leave it in place and mask it instead.

Step 3: Mask the Engine and Surrounding Components
Masking protects the engine, wiring, and other sensitive parts from cleaners, sanding dust, rust particles, and overspray, and it gives the finished restoration a cleaner, more professional look. Do this before any cleaning or coating step begins.
Carefully cover:
- Engine
- Wiring harnesses and electrical connectors
- Alternator
- Brake master cylinder, brake booster, and brake lines
- Rubber hoses and belts
- Glass and painted body panels
- Rubber seals and weatherstripping
Use automotive masking tape with masking paper or plastic sheeting, and secure everything well so it cannot shift during cleaning, sanding, or coating.

Step 4: Clean and Degrease the Engine Bay
Degreasing the engine bay before removing rust or applying RustSeal matters because even the best coating cannot bond to oil, grease, or road grime left on the surface. Clean every accessible area with KBS Klean, a concentrated water-based cleaner and degreaser that rinses away without leaving a residue that interferes with adhesion.
If battery acid is present, neutralize it first with a baking soda and water solution before using KBS Klean. That procedure is covered in this battery tray rust repair guide.
How to Use KBS Klean
-
Mix KBS Klean with hot water according to the level of contamination:
- 1:1 for heavily soiled surfaces.
- 1:5 for moderately soiled surfaces.
- 1:25 for non-ferrous metal surfaces.
- Apply the solution with a sponge or bristle brush. Scrub thoroughly, paying close attention to seams, corners, brackets, enclosed cavities, and other areas where grease and dirt typically accumulate.
- Rinse thoroughly with clean water. Where rinsing is not practical, wipe the surface repeatedly with clean, damp cloths until all cleaner and residue have been removed.
- Allow the engine bay to dry completely before proceeding. Trapped moisture can interfere with the surface preparation and coating steps that follow.
- See the full KBS Klean application directions, including recommended dilution rates.

Step 5: Remove Loose Rust and Paint
All loose rust and failing paint has to come off before any coating goes on, since protective coatings are only as reliable as the surface underneath them. Loose corrosion, peeling paint, or failing coatings eventually break free and take the new finish with them.
Remove Surface Rust
Remove loose surface rust with a wire wheel, abrasive pad, sandpaper, or another mechanical method until only solid, tightly bonded metal and rust remain. Heavily pitted areas may need more aggressive abrasion to clear loose corrosion out of the pits. Remove all sanding dust and debris before moving on.
Light surface rust that stays tightly bonded can be treated with KBS RustBlast and coated over with KBS RustSeal. There is no benefit to grinding away sound metal just to eliminate light surface discoloration.
Remove Loose and Peeling Paint
Scrape or sand away all loose, blistered, flaking, or peeling paint. Any paint left in place needs to be firmly bonded to the metal. If an edge lifts with a scraper or fingernail, it is not sound enough to coat over, and removing it now is far easier than repairing a coating failure later.
Feather Existing Paint Edges
Where bare metal meets existing paint, feather the edge with sandpaper until the transition is smooth. This reduces visible repair lines and helps the new coating blend into the surrounding finish.

Step 6: Repair Damaged Areas
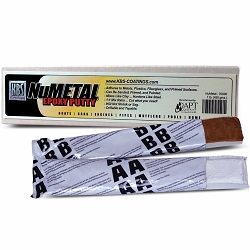
Filling pits, gouges, and other surface damage before coating eliminates places where moisture can collect and corrosion can restart beneath the finish. Clean the damaged area thoroughly, then fill pits, scratches, and other imperfections with NuMetal Epoxy Putty or another automotive metal repair filler suited to the repair. Let the filler cure per the manufacturer's instructions, then sand it smooth and feather the repair into the surrounding metal.
Step 7: Prepare the Surface for Coating
A final cleaning removes the sanding dust, grease, and fingerprints left behind from repair work, since that residue interferes with coating adhesion just as much as the original contamination did. Repeat the KBS Klean cleaning procedure, rinse thoroughly, and let every surface dry completely before applying KBS RustBlast.
KBS RustBlast neutralizes microscopic rust and deposits a zinc phosphate conversion coating that improves adhesion and increases corrosion resistance beyond what cleaning alone accomplishes.
Use KBS RustBlast as directed:
- Spray KBS RustBlast onto the surface and keep it wet for 30 minutes to 2 hours, depending on the severity of the rust or corrosion.
- Scrub thoroughly with a Scotch-Brite pad, paying particular attention to seams, corners, brackets, enclosed cavities, and other areas where corrosion commonly remains.
- Rinse thoroughly with clean water and dry completely.
- Where rinsing is impractical, wipe repeatedly with clean, damp cloths until all residue has been removed.
- A light whitish zinc phosphate film will remain. This is normal, helps prevent flash rust, and should not be removed.
- See the full RustBlast application directions.

Step 8: Apply RustSeal
RustSeal needs a minimum of two thin, overlapping coats to seal the metal from moisture and corrosion once the surface is properly prepared. It bonds to bare metal and to surface rust treated with RustBlast, creating a durable barrier against moisture, oxygen, battery acid, and automotive fluids.
KBS RustSeal is a single-component, moisture-cured urethane coating built for long-term corrosion protection. It cures to a hard yet flexible finish that resists impact, abrasion, chipping, and peeling, and its self-leveling characteristics minimize brush marks while creating a solid foundation for the BlackTop topcoat.
Properly prepared light surface rust does not need to be ground completely away. Once treated with KBS RustBlast, it can be encapsulated beneath RustSeal, which cuts down on unnecessary metal removal while still stopping further corrosion.
Use RustSeal as Directed
- Choose your application method: brush, roller, or spray equipment.
- Apply between 55°F and 82°F. Avoid rain and excessively high humidity during application.
- Stir thoroughly from the bottom of the can before use. Do not shake.
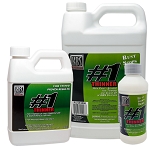
- Thinning is generally unnecessary. When spraying, use 5-10% KBS #1 Thinner or Xylene only if reduction is required.
- Apply two to three thin, overlapping coats. Thin coats cure more completely and produce a more durable finish than heavy coats.
- Apply additional coats once the previous coat is dry to the touch (approximately 2-6 hours) and within the recommended 8-hour recoat window.
- RustSeal may be applied over properly prepared surface rust treated with RustBlast.
- RustSeal is fully cured 24 hours after the final coat. Wait at least that long before scuffing it for a topcoat or reinstalling components.
- See the full RustSeal application directions.

Apply BlackTop as the Topcoat
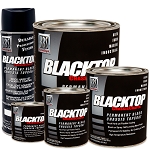
A BlackTop topcoat is recommended any time RustSeal will see frequent or prolonged sunlight, since RustSeal alone is not built to hold its color and sheen under repeated UV exposure. BlackTop adds UV protection while improving color retention and long-term durability, which makes it a strong choice for engine bays and other under-hood components.
BlackTop is a moisture-cured urethane topcoat that bonds tightly to KBS RustSeal and cures to a tough, flexible finish with strong resistance to chemicals, chipping, peeling, and fading. Like RustSeal, it self-levels well to produce a smooth, professional-looking finish.
Prepare RustSeal for Topcoating
Two methods work to ready RustSeal for BlackTop:
Scuffing Method
- Scuff the RustSeal surface with 320-grit sandpaper to promote adhesion.
Self-Etching Primer Method
- Apply a light dust coat of Fusion SEP Self-Etching Primer.
Apply BlackTop Chassis Coater
- Apply by brush or spray equipment.
- Apply between 55°F and 82°F. Avoid rain and excessively high humidity.
- Stir thoroughly before use.
- Thinning is generally unnecessary. If needed, reduce 5-10% using KBS #1 Thinner or Xylene only. In humidity above approximately 70%, slight reduction can improve flow and self-leveling by slowing the cure.
- Apply two thin, overlapping coats. Multiple thin coats produce a smoother, more durable finish than one or two heavy coats.
- Recoat once the previous coat is dry to the touch and within 24 hours. If more than 24 hours have elapsed, scuff the surface with 320-grit sandpaper before recoating.
- Allow approximately 48 hours for full cure, depending on temperature and film thickness.
- See the full BlackTop application directions.

Stuck or unsure? Search the KBS Support Desk for instant answers
Common Mistakes to Avoid When Restoring an Engine Bay
Even quality materials cannot compensate for poor preparation or rushed workmanship. Most engine bay coating failures trace back to a handful of avoidable mistakes.
Painting Over Grease
Oil, grease, and road grime keep coatings from bonding to the metal. Clean and degrease the engine bay with KBS Klean before removing rust or applying RustSeal, since contaminants left on the surface stay there under the coating.
Leaving Loose Rust
Never coat over loose rust or flaking corrosion. Remove all loose corrosion and repair damaged metal before coating. Properly prepared surface rust treated with RustBlast can stay in place, but loose rust keeps separating from the metal and eventually causes coating failure.
Skipping Metal Preparation
Rust removal alone is not enough. Preparing bare metal with RustBlast improves coating adhesion, increases corrosion resistance, and creates the surface RustSeal needs to bond properly.
Poor Masking
Mask the engine, wiring, alternator, brake components, hoses, belts, and painted body panels before cleaning or coating. Good masking prevents overspray, speeds up cleanup, and gives the finished restoration a cleaner, factory-quality appearance.
Applying Coats Too Heavily
Apply RustSeal and BlackTop in thin, even coats. Heavy applications increase the chance of runs, sags, trapped solvents, and longer cure times. Multiple thin coats consistently produce a stronger, more durable finish than one thick one.
Rushing Cure Times
Let each coating cure as recommended before removing masking, reinstalling components, or returning the vehicle to service. Handling a finish before it has developed full hardness, adhesion, and chemical resistance can damage it.
Frequently Asked Questions About Engine Bay Restoration
Is It Better to Remove the Engine First?
Not always. Removing the engine provides complete access and is the preferred approach for structural rust, major corrosion, or sheet metal repairs. Most engine bay restoration projects involving surface rust, peeling paint, and cosmetic deterioration can be completed successfully with the engine installed.
Can I Spray Paint an Engine Bay with the Engine Installed?
Yes. With the engine, wiring, hoses, and surrounding components properly masked, an engine bay can be spray painted with the engine in place. Removing easily accessible components beforehand improves access, coverage, and overall finish quality.
How Do I Protect Wiring and Hoses While Painting?
Cover wiring harnesses, electrical connectors, hoses, belts, brake components, and other parts that should not be coated with automotive masking tape, masking paper, or plastic sheeting. Secure the masking well so it cannot shift during cleaning or spraying.
How Long Will the Finish Last?
A properly prepared and coated engine bay can stay protected for years. Durability depends far more on thorough surface preparation, correct application, and full cure time than on the coating alone. Routine cleaning and prompt repair of chips or scratches extend the life of the finish.
Can RustSeal Be Applied Over Surface Rust?
Yes. RustSeal can be applied over bare metal and over light surface rust that has been properly treated with RustBlast. Remove all loose rust, loose paint, grease, and other contaminants before coating to get maximum adhesion and lasting corrosion protection.
Why Apply BlackTop Over RustSeal?
Apply BlackTop whenever RustSeal will get frequent or prolonged exposure to direct sunlight. BlackTop adds UV protection and improves color retention, chemical resistance, and long-term durability.
How Long Should RustSeal Cure Before Applying BlackTop?
Apply BlackTop over RustSeal that is 3 to 8 hours old, with no other prep. If that window has passed, let RustSeal cure for 24 hours, then lightly scuff the surface with 320-grit sandpaper before topcoating.
Still have questions? Search the KBS Support Desk for instant answers
Conclusion
Most engine bays can be restored successfully without removing the engine. Inspecting the metal, removing contamination and loose corrosion, repairing damaged areas, preparing the surface correctly, and applying RustSeal and BlackTop as directed together produce a durable finish that protects against rust, moisture, battery acid, and the harsh conditions found under the hood.
Whether you are restoring a classic car, muscle car, truck, or daily driver, the time spent on proper surface preparation determines how well the finish performs years from now and whether you end up doing the job twice.
See more RustSeal restoration projects and application guides to see how the system prevents corrosion across automotive, marine, industrial, and restoration applications.
Tagged Products